7 Easy Woodworking Projects for Beginners: Step-by-Step Guide to Kickstart Your Carpentry Journey
Are you itching to create something beautiful with your hands but don’t know where to start? Woodworking is a fulfilling and creative hobby that allows you to turn simple pieces of wood into stunning projects. But if you’re a beginner, diving into woodworking can feel overwhelming. That’s why we’ve crafted this woodworking projects for beginners to help you get started with beginner-friendly woodworking projects. Whether you’re looking to build something functional or decorative, these simple projects will boost your skills and confidence. Plus, we’ll answer some frequently asked questions to ensure you’re fully equipped to dive into the world of woodworking.
Read These 7 Easy Woodworking Projects For Beginners
1. Simple Wooden Shelf
A wooden shelf is a practical and easy project for beginners. It’s a versatile piece that can be used in any room, and it gives you a chance to practice your measuring, cutting, and sanding skills.
Materials Needed:
- Pine wood boards
- Wood screws
- Sandpaper (medium grit)
- Wood stain or paint (optional)
- Brackets (for wall mounting)
Step-by-Step Guide:
- Measure and Cut: Start by measuring the space where you want to place your shelf. Cut the pine wood to your desired length using a saw.
- Sand the Wood: Use sandpaper to smooth out any rough edges on the cut wood.
- Stain or Paint: Apply wood stain or paint to the shelf, and let it dry completely.
- Attach Brackets: Screw the brackets onto the underside of the shelf at both ends.
- Mount on the Wall: Secure the shelf to the wall using the brackets, ensuring it is level.
FAQ:
- How long does this project take?
- This project can be completed in 2-3 hours, including drying time for the stain or paint.
2. Birdhouse
Building a birdhouse is a classic woodworking project that’s both fun and rewarding. Plus, it’s an opportunity to invite some feathered friends into your backyard.
Materials Needed:
- Cedar wood boards
- Wood glue
- Nails
- Hammer
- Hinges (for the roof)
Step-by-Step Guide:
- Cut the Wood: Cut the cedar wood into pieces for the base, roof, sides, and front/back panels.
- Assemble the House: Use wood glue to join the pieces together, then secure them with nails for extra stability.
- Attach the Roof: Use hinges to attach the roof so you can easily clean the birdhouse in the future.
- Mounting: Choose a sturdy tree or pole to mount your birdhouse.
FAQ:
- What type of wood is best for a birdhouse?
- Cedar is ideal because it’s weather-resistant and safe for birds.
3. Wooden Picture Frame
A picture frame is a small project that can be completed in an afternoon, making it perfect for beginners. It also makes for a thoughtful handmade gift.
Materials Needed:
- Oak wood strips
- Miter saw
- Wood glue
- Clamps
- Glass pane (optional)
- Picture frame backing
Step-by-Step Guide:
- Cut Wood Strips: Cut the oak wood strips at 45-degree angles using a miter saw to create the frame edges.
- Assemble the Frame: Apply wood glue to the edges and clamp the pieces together until the glue dries.
- Insert Glass and Picture: Once the frame is assembled, insert the glass pane and your picture, then secure it with the backing.
FAQ:
- Can I make a frame without a miter saw?
- Yes, you can use a handsaw with a miter box to achieve the angled cuts.
4. Coasters
Wooden coasters are a quick and easy project that’s perfect for beginners. You can make a set in just an hour or two.
Materials Needed:
- Hardwood like maple or walnut
- Sandpaper
- Wood finish
- Felt pads
Step-by-Step Guide:
- Cut the Wood: Cut your hardwood into 4×4 inch squares.
- Sand the Edges: Smooth out all edges and corners with sandpaper.
- Apply Finish: Apply a wood finish to protect the coasters and bring out the wood’s natural beauty.
- Add Felt Pads: Attach felt pads to the bottom of each coaster to protect surfaces.
FAQ:
- Can I personalize these coasters?
- Absolutely! You can carve or burn designs into the wood before applying the finish.
5. Tool Organizer
A tool organizer is essential for any budding woodworker. This project helps you keep your workspace tidy and your tools within reach.
Materials Needed:
- Plywood
- Wood screws
- Drill
- Sandpaper
- Paint or stain
Step-by-Step Guide:
- Design and Cut: Design the organizer to fit your tools, then cut the plywood to size.
- Assemble: Drill holes and screw the pieces together to form the organizer.
- Sand and Paint: Smooth out any rough edges and apply paint or stain to finish.
FAQ:
- What’s the best plywood thickness for a tool organizer?
- ¾ inch plywood is sturdy enough to hold heavy tools.
6. Step Stool
A small step stool is both practical and a great way to practice joining techniques.
Materials Needed:
- Hardwood like oak or birch
- Wood glue
- Screws
- Drill
Step-by-Step Guide:
- Cut the Pieces: Cut the wood to size for the top and legs of the stool.
- Assemble the Stool: Use wood glue and screws to attach the legs to the top.
- Finish: Sand the entire stool and apply a protective finish.
FAQ:
- How much weight can a wooden step stool hold?
- Depending on the wood used, a well-built stool can hold up to 200 lbs.
7. Rustic Candle Holder
A rustic candle holder adds a touch of charm to any home. This simple project involves minimal tools and materials.
Materials Needed:
- A log or wood block
- Drill with a hole saw bit
- Sandpaper
- Wood finish
Step-by-Step Guide:
- Select and Prepare Wood: Choose a log or wood block and sand the surface.
- Drill Candle Holes: Use a hole saw bit to drill holes for the candles.
- Finish: Apply a wood finish to enhance the rustic look.
FAQ:
- Can I use any wood for this project?
- Yes, but hardwoods like oak or walnut work best for durability.
Conclusion
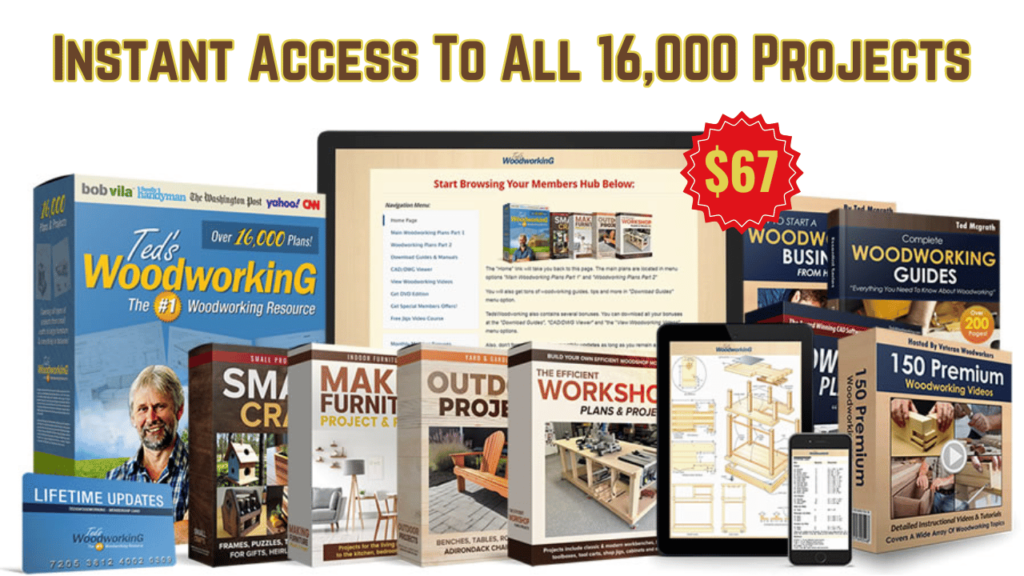
Woodworking is a rewarding hobby that offers endless opportunities to create and personalize projects. These beginner-friendly woodworking projects are a great way to start developing your skills while crafting beautiful and functional items. Remember, the key to success is to start small, follow the steps carefully, and enjoy the process. And if you’re ready to take your woodworking skills to the next level, consider exploring TedsWoodworking. It’s the world’s largest collection of 16,000 woodworking plans, and with an unconditional money-back guarantee, it’s a risk-free way to embark on your woodworking journey.

Don’t wait! Get started on the projects you’ve dreamed of today.
woodworking projects for beginners step by step,woodworking folding chair,woodworking display case,woodworking workbenches,design woodworking projects,woodwork kit for beginners,woodworking kits for beginners,woodworking books for beginners,best woodworking books for beginners,best tools for a beginner woodworker,Woodworking for beginners, DIY woodworking projects, easy woodworking, step-by-step woodworking, beginner carpentry, woodworking guide, simple wood projects, TedsWoodworking, woodworking tips, woodworking tools, tedswoodworking download
